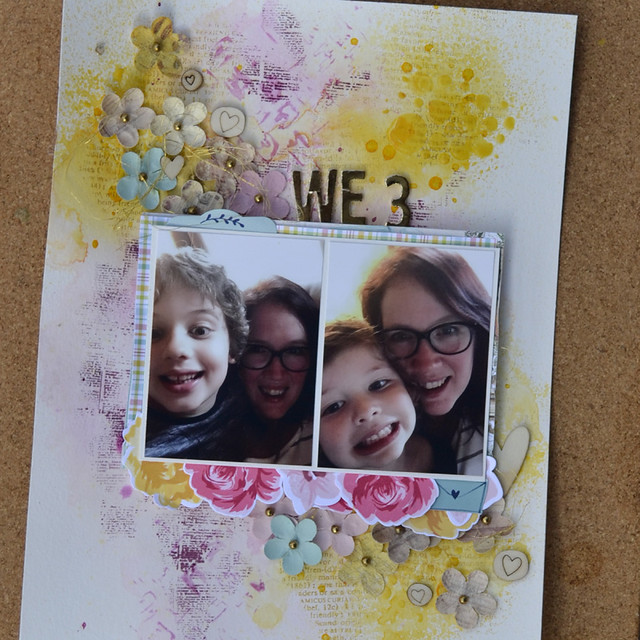
This week, I am sharing another page I made for my yearlong album. I make one chronological album a year and I am always "behind". I wrote about this album and the class that inspired my approach to this project last week. I am catching up on the pages that haven't I finished - a few layouts and some pocket pages.
This week's layout was inspired by some selfies I took with my kids on Mother's Day in May. I wanted to use some of the new Prima Color Bloom sprays to create a page that felt like a bright, flowery spring day. Spray inks are one of my favourite supplies and I can't help but try out the new colors when they are released.
Here are the supplies I used to make this week's layout.
Heavy Gesso - Art Basics (Prima)
Watercolor Paper (Canson)
3D Matte Gel - Art Basics (Prima)
Bubbles Stencil (Prima)
Basket Weave Stencil (Prima)
Color Bloom Spray Inks - Cotton Candy, Spring Dandelion, Wild Raspberry (Prima)
Archival Ink - Plum (Prima)
Golden Glitz Pigment Ink - Delicata (Tsukineko)
Amy Tangerine Sticker Book - Better Together (American Crafts)
Book Stamp - Item # 960964 (Prima)
Friend Definition Stamp (Hero Arts)
Altenew Stamps
Gold Thread (Guterman)
Perfectly Plaid 6x6 Paper pad (Lawn Fawn)
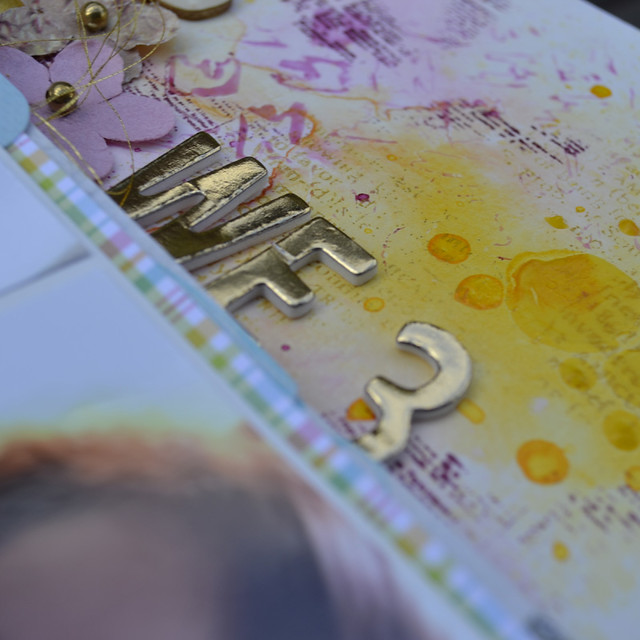
Woodland Thickers - Dear Lizzy (American Crafts)
Palette Knife
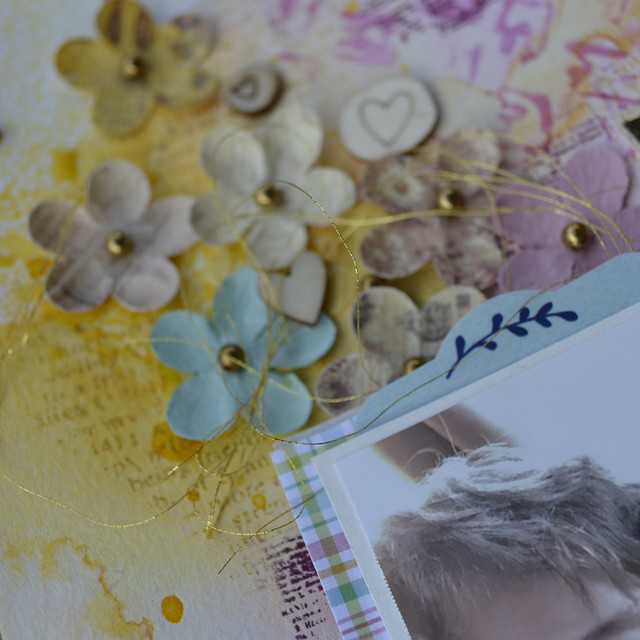
Butterfly Flowers - (Prima)
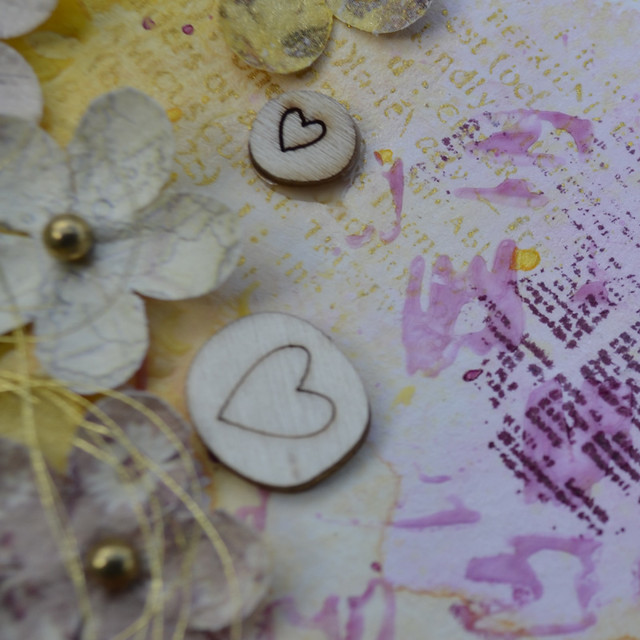
Heart Wood Veneer (Studio Calico)
Instructions:
1. Apply a thin coat of gesso to the watercolor paper. I usually gesso my background because a thin coat of gesso makes watercolor paper non-porous. That means that my spray ink won't soak into the paper so I can get it to blend before it dries. A thin coat of gesso doesn't take long to dry so I usually set mine aside but you can also dry with a heat gun.
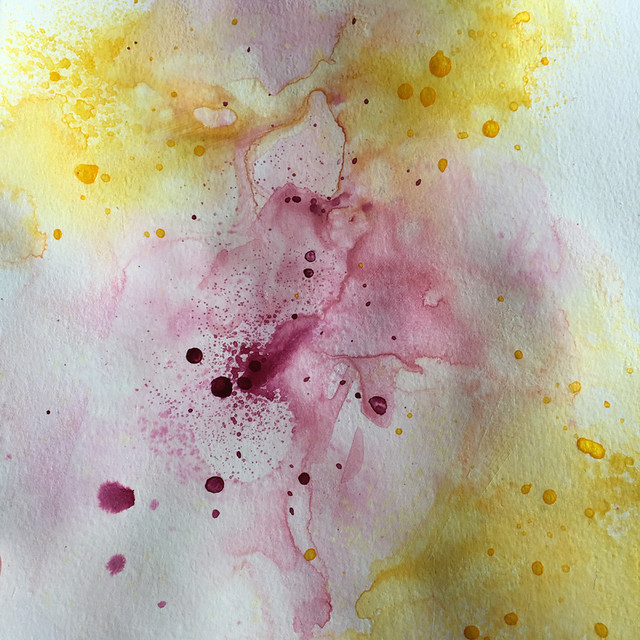
2. Add spray ink. For this background, I started with Cotton Candy and Wild Raspberry Color Bloom sprays. I dried the background with a heat gun before adding some Spring Dandelion to brighten up the background. I dried the background in between colors so they didn't blend. I wanted to keep the colors separate for this background.
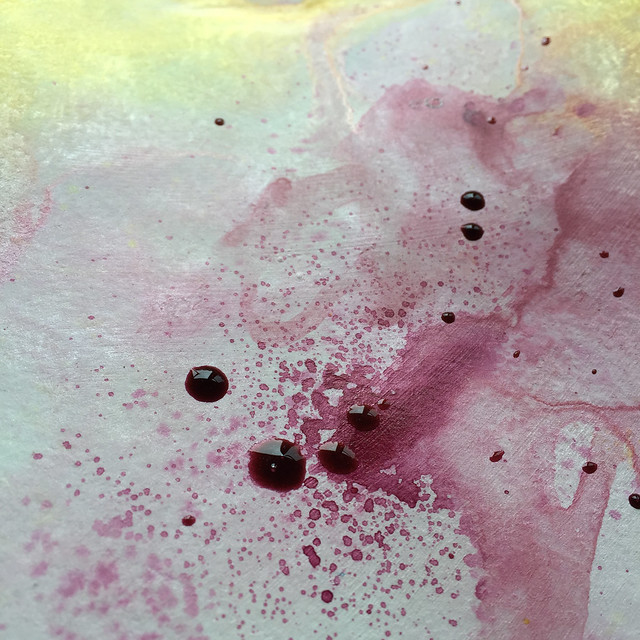
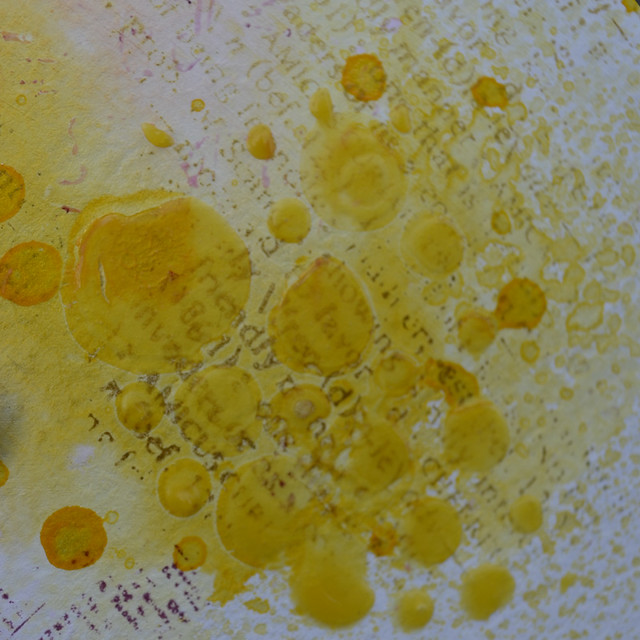
3. Add ink splatters. To create my ink splatters, I unscrewed the top of the spray bottle and tapped the ink nozzle to create splatters on my background. I used Wild Raspberry on the pink section and Spring Dandelion on the yellow section. Then I set it aside to dry.
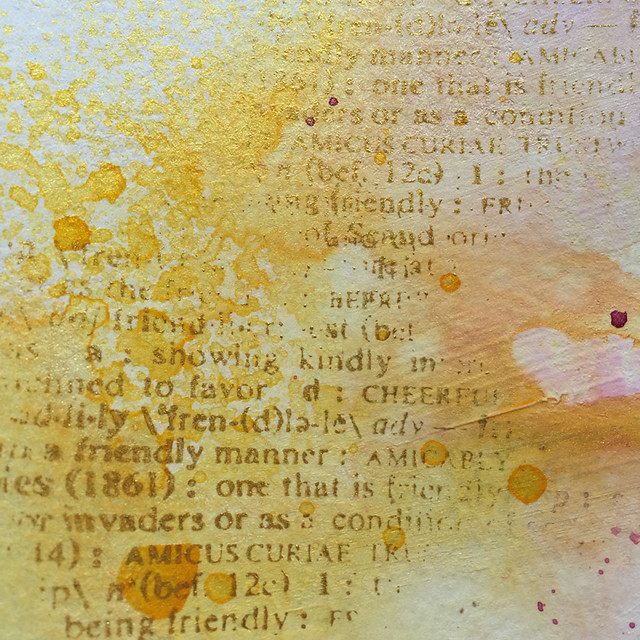
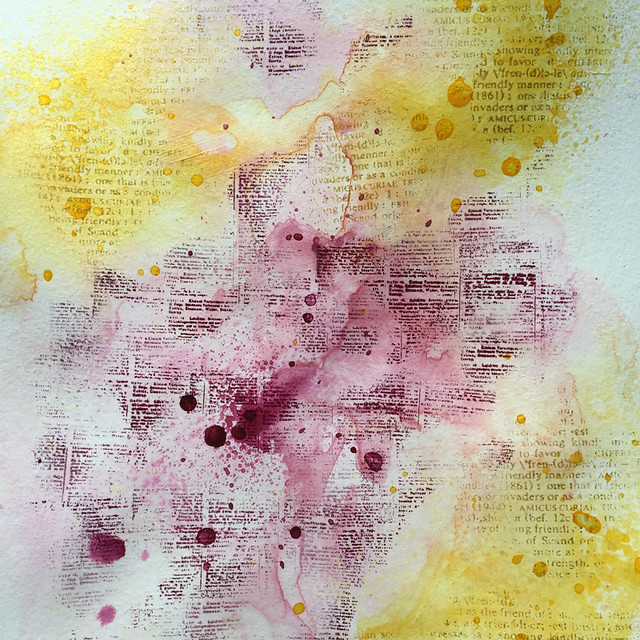
4. Stamp on the background. I used two stamps and two different colors ink for my background. I used the Hero Arts Friend Definition background stamp with the Delicata Golden Glitz ink on the yellow section. I used the Prima Book stamp with Archival Ink in Plum on the pink section to create a tone-on-tone effect.
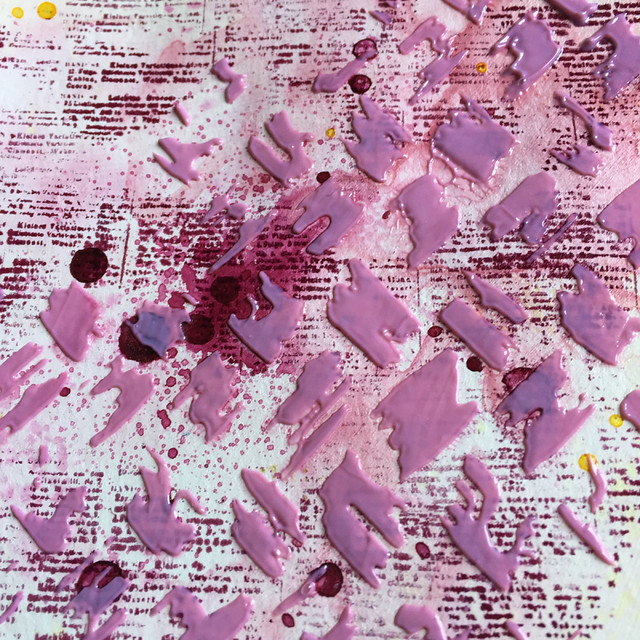
5. Color 3D Matte Gel with spray ink. I wanted to see how the Color Bloom sprays worked with the 3D Matte Gel so I mixed up 2 batches of colored gel. To color the gel, I scooped a small blob onto my craft, spritzed twice with my spray ink and mixed it with a palette knife.
6. Apply Colored 3D Matte Gel to background. Once I had the color the way I liked it, I spread it onto my background using a stencil and a palette knife.Then I set it aside to dry.
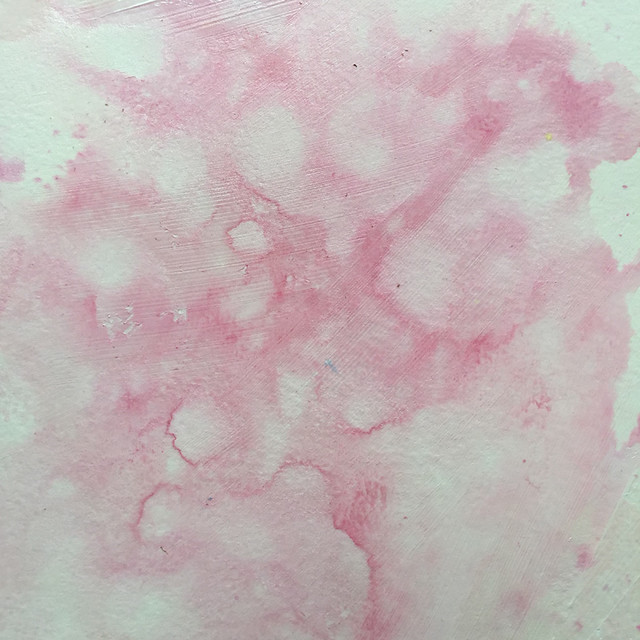
Here is the Wild Raspberry paste before it dried...
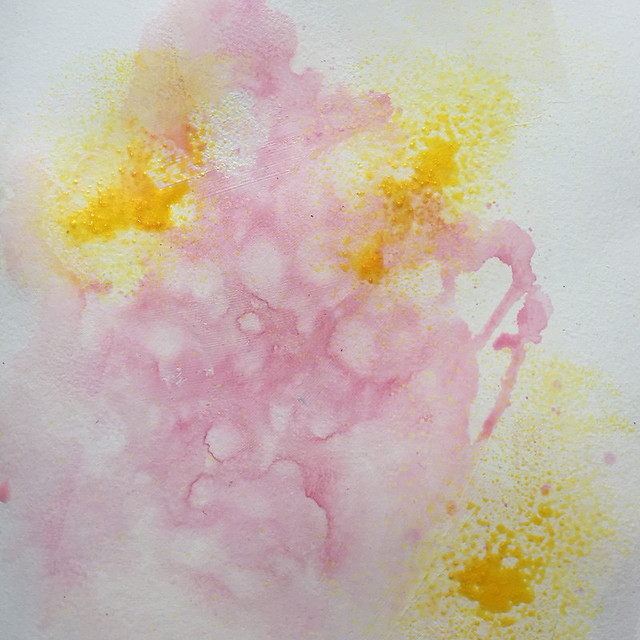
Here is the Spring Dandelion gel after it dried.
Here's a look at the background.

7. Embellish. I like to layer paper and stickers behind my photo before adding more embellishments to my background. This week, I also added some Altenew flowers that my friend, Tina, had stamped and diecut. She had a few extra lying of these lovely blossoms laying around so she gave them to me and I was so happy to have them for this layout. I also added lots of Prima flowers because what is a Mother's Day page without flowers?
I love the new Color Bloom sprays - they make me happy. Prima has changed the shape the spray nozzle and it's an adjustment but not a big deal. You have to add water when you get them home as they are shipped unmixed - just pigment powder in the bottle. I liked mixing my own colors and they are so bright and beautiful when you add water.
I have been having a lot of fun creating 8.5x11" mixed media layouts lately. Changing the size of my layouts from 12x12" to 8.5x11" has been a great source of inspiration the last few weeks and I'm going to stick with this size for the time being.
Thanks for stopping by!
Cathie
No comments:
Post a Comment